Creative Corner
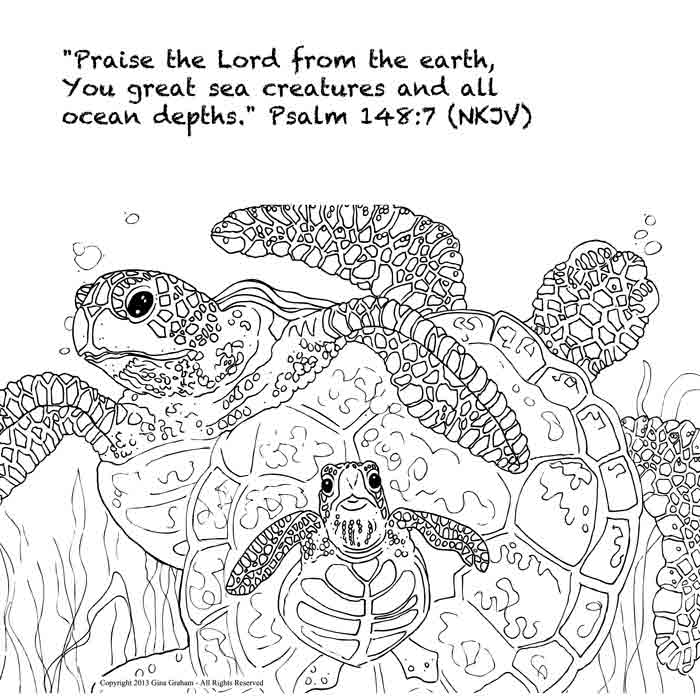
Even Sea Turtles Praise the Lord

Have you ever heard a sea turtle praise the Lord? Well, when they do the things the Lord made them to do, that’s when they praise Him. Did you know that the Lord had a purpose in mind when He made you? Your purpose is to glorify God and enjoy Him forever. One way you can do that is by telling Him just how great He is.
Click on the image below to print and color this sheet. As you color, think of all the great things the Lord has done.
 Gina loves to illustrate the Bible for children. She has created hundreds of resources for children’s ministry needs – activity sheets, puzzles, games, children’s church bulletins, paintings, memory verse helps and more. “Gina’s Corner” is a column she creates for Kids’ Ministry Ideas.
Happy Birthday, Jesus Cake

by Sandra Merville Hart
The tradition of birthday cakes for Jesus began over 500 years ago when desserts were a rare treat.
Children looked forward to baking a cake to celebrate Jesus’s birthday. Moms often hid little gifts inside the batter. Children found tiny toys like marbles or even a coin in their servings.
The cake itself contains special meaning. White cake symbolizes the sinless life of Jesus. The cake rises while in the oven to represent His resurrection.
Red icing reminds folks that Jesus died to save us from our sins.
The light of a single candle reminds us of the star the Wise Men followed to Bethlehem. Candlelight also means that Jesus is the light of the world.
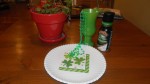
I wrote “Happy Birthday, Jesus” on my frosted cake. Ask your mom for red and green M&M’s or other festive candies to decorate your own piece.
Merry Christmas!
 About Sandra Merville Hart
Award-winning author Sandra Merville Hart loves to uncover fascinating historical facts for her novels and stories. She was an editor and writer for DevoKids for several years and is now Executive Editor. She’s excited to be part of this fun, educational, and inspirational ministry for children.
Milk Shake Recipe

by Sandra Merville Hart
When the weather warms up, it’s time for ice cream and milk shakes, right?
I found this recipe for milk shakes that is easy to vary. If you have a blender, you can make this.
You will need:
2 scoops of your favorite ice cream for a single 16-ounce serving
¾ cup milk
½ teaspoon of vanilla extract OR 1 tablespoon of any syrup (your choice)
Ask your parents or another adult to help you make the milk shake.
I had chocolate truffle ice cream in my freezer so I made a chocolate truffle milk shake. Choose your ice cream.
Pour ¾ cup of milk into the blender. Add ice cream. Next, add the vanilla extract OR the syrup. I love the vanilla flavor so I chose the vanilla extract.
Replace blender lid and blend a few seconds or until desired consistency.
You can put a dollop of whipped cream on top if you like.
Also, there are many syrups that you could try instead—chocolate, caramel, peppermint, strawberry, or raspberry to name a few.
Enjoy!
Sources
Revised by Cunningham, Marion and Laber, Jeri. The Fannie Farmer Cookbook, Alfred A Knopf Inc., 1983.
About Sandra Merville Hart
Award-winning author Sandra Merville Hart loves to uncover fascinating historical facts for her novels and stories. She was an editor and writer for DevoKids for several years and is now Executive Editor. She’s excited to be part of this fun, educational, and inspirational ministry for children.
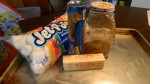
Bubble Solution Recipe

by Sandra Merville Hart
It was challenging to find bubble solution during the pandemic. We played in the backyard so often that we quickly went through a gallon of bubble solution.
If you also had that problem, here is an easy recipe. Ask your parents or another adult for help making it.
This simple recipe mostly fills a standard 28-ounce bottle of bubble solution. Save those old bottles and make your own.
Use a medium-sized bowl.
1 ½ cups dish soap
4 ½ cups water
2 tablespoons sugar
Combine these together gently or you’ll have lots of bubbles in the bowl. Mine turned out a little sudsy and I set it aside for a few minutes. ????
Store in a bottle until ready to use.
Enjoy!
About Sandra Merville Hart
Award-winning author Sandra Merville Hart loves to uncover fascinating historical facts for her novels and stories. She was an editor and writer for DevoKids for several years and is now Executive Editor. She’s excited to be part of this fun, educational, and inspirational ministry for children.
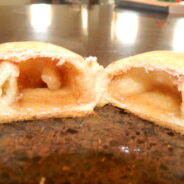
Empty Tomb Rolls
By Renee McCausey
“And they found the stone rolled away from the tomb, but when they went in they did not find the body of the Lord Jesus.” Luke 24 2-3 ESV
This tradition is one our family used for many Easter breakfasts. It is a great visual tool for children to understand that Jesus did not stay in that tomb! These can be used for a class or lesson during the Easter season or just a great time to spend teaching your kids the real meaning of Easter.
1 can crescent rolls
2 Tbls. cinnamon
8-Large marshmallows
2 Tbls. Sugar
¼ cup melted butter
(you can adjust the amount of depending on how many you want to make)
Directions
1. Preheat oven to 400 degrees F (200 degrees C). Lightly grease a baking sheet.
2. Separate crescent rolls into individual triangles.
3. In a small bowl, mix together cinnamon and sugar or use a shaker.
4. Melt the butter and spread on the dough. Sprinkle with the cinnamon and sugar mixture. Place marshmallow into the center of a dough triangle. Carefully wrap the dough around the marshmallow. Pinch the seams together tightly to seal in marshmallow as it melts. Place on a baking sheet. Repeat.

5. Bake in a preheated oven until golden brown, about 15 minutes.
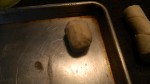

Cut the rolls open when cooled. There will be a hole where the marshmallows melted and the truth of the empty tomb will show!
Happy Easter! Jesus Loves You!
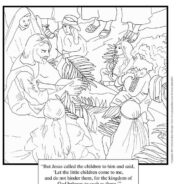
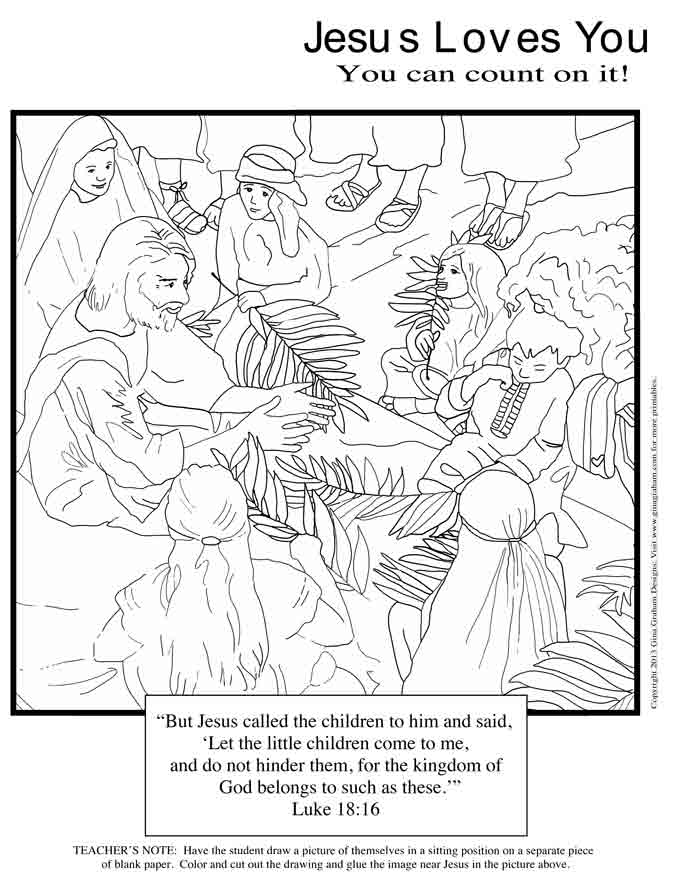
Happy Easter! This weekend we celebrate that Jesus rose from the grave. You may hear people at church say, “He is alive!” If you do, you can say this back to them, “He is alive indeed!”
Click on the image of Jesus and the children below to print and color this sheet. As you color, think of what you can do to show others that Jesus loves them, too.
Gina loves to illustrate the Bible for children. She has created hundreds of resources for children’s ministry needs – activity sheets, puzzles, games, children’s church bulletins, paintings, memory verse helps and more. “Gina’s Corner” is a column she creates for Kids’ Ministry Ideas.
The Road to Jerusalem: Palm Sunday

On Palm Sunday, we celebrate the day Jesus was in a parade. He road a young donkey and people lined the streets shouting, “Blessed is the king who comes in the name of the Lord!” The streets were dirty and hot, so everyone waved palm leaves and put their coats on the ground for the donkey to walk on. Everyone was so happy that Jesus had come to Jerusalem.
Print out maze below to color and help Jesus find the way to Jerusalem. If you need help printing out the sheet or finding the way, ask an adult. Tell them the story of Jesus in the parade.
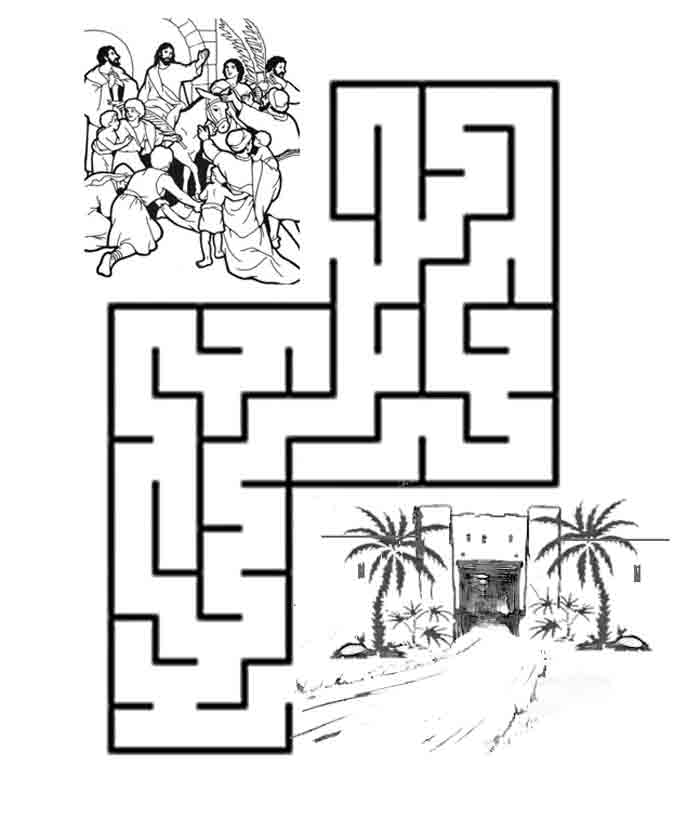
The Road to Jerusalem
The Story of St. Patrick

March 17th is celebrated each year as St. Patrick’s Day. This is a special day in Ireland because it celebrates the life of St. Patrick who brought the story of Jesus to their country. When Patrick was a little boy, a long time ago, he lived in Britain with his father who was a deacon in the church. But when he was sixteen, he had a very bad thing happen to him. He was kidnapped by some bad people from Ireland. They made him a slave and his job was to watch their sheep for them. But during that time, God spoke to his heart and Patrick grew to love God.
He finally escaped and went back to his home, but Patrick’s story doesn’t end here. He became a bishop in his church and one night he had a dream. In that dream, God told him to return to Ireland and teach them about God. Can you imagine returning to the people who had taken you away from your home and made you a slave? But because Patrick did what he was told, the Irish came to know God. They were so thankful, they declared a special holiday just for him.
One of the things St. Patrick used to tell the Irish about God was a shamrock. He told them the three leaves of the shamrock represented the Trinity. Just like there are three parts of a shamrock, it’s still one leaf. Even though there are three persons in the Trinity (the Father, Jesus the Son and the Holy Spirit), there is still one God. That helped them understand and the shamrock became a symbol for St. Patrick.
The jigsaw puzzle below is of a shamrock. To play it, just click and hold on the pieces then slide them into place. If you can’t see or play the puzzle below, click on the image at the bottom of the post to go to the jigsaw puzzle website.

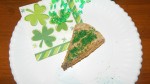
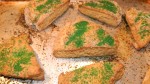
Irish Scones: A St. Patrick’s Day Tradition

By Renee McCausey
When my children were little I made special breakfasts on certain holidays. I bought holiday themed glasses or mugs at the dollar store and sometimes filled them with candy or pencils for school. For St. Patrick’s Day, I would make Irish Scones and sprinkle green sugar on top. I also purchased Irish cream coffee creamer and let them have “coffee” for breakfast. This created special memories for my kids growing up that they still talk about. Even as they get older, I keep these traditions. They always remind me to follow them every year.
What you will need to create a memory:
Irish Scones (recipe follows) You can also purchase biscuits, crescent rolls, pancakes, or waffles and sprinkle the sugar on before baking them. The fun is in the memory you are creating!
Green sugar sprinkles
Irish Cream coffee creamer (this can be put into milk also)
Dollar store goodies with a holiday mug
Ingredients for Irish Scones:
2 cups all-purpose flour
1/4 cup sugar
1 teaspoons baking powder
½ teaspoon baking soda
½ teaspoon salt
⅓ cup Unsalted Butter
½ cup buttermilk (if you don’t have this on hand, you can make it by putting a teaspoon of vinegar in regular milk)
1 large egg
1 Tablespoon buttermilk
Directions
Step 1
Preheat oven to 425° F.
Step 2
Combine flour, sugar, baking powder, baking soda, and salt in a food processor bowl with steel blade and blend for 8 seconds (or whisk together in a large bowl).
Step 3
Cut in butter by pulsing 8 times with food processor (or use a pastry cutter), until mixture resembles coarse meal. Do not over blend.
Step 4
Whisk egg with buttermilk. Add egg mixture to dry mix in food processor and pulse just until dough comes together (or create a well in dry ingredients, add egg mixture & stir just until moistened). Stir in currants.
Step 5 Don’t forget the sprinkles before you bake!
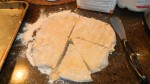
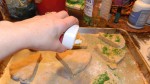
Turn dough onto floured surface and pat into 8-inch circle, approximately ½ to ¾- inch thick. Cut into wedges or cut with 3-inch biscuit cutter and place on a parchment lined or buttered baking sheet. Brush with buttermilk. Bake 15-18 minutes or until golden brown.
Recipe revised from the Challengedairy.com website
Braided Easter Egg Bread
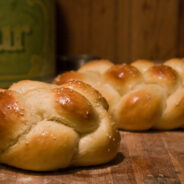


Gail Cartee is a writer and teacher of hands-on family devotions. She and her husband live in the foothills of SC. They have three grown children and three grandchildren. Gail writes Sunday School lessons for children and teens. She teaches in a public school near her home. Gail often gets inspiration for her hands-on lessons while working in her organic garden.
Visit Gail at http://gailcartee.blogspot.com/ or email her at gcartee8645@windstream.net.
Site Editor
![]()
If it’s in the Bible, The Pirate Preacher knows the story. Monday nights he leads a “Jesus Study” in Moore Square, Raleigh, NC. Each Sunday you will find him in the park and at the bus station helping others enjoy the abundant life Jesus promised.
The Pirate Preacher helped launch Christian Devotions Ministries and is the former CEO of Lighthouse Publishing of the Carolinas, a Christian book publishing company. He’s also a “Blessed Selling” author and Writers’ Coach.
DevoKids on FaceBook!
Jehovah Jireh: The Incredible Provider — A super Hero Graphic Novel